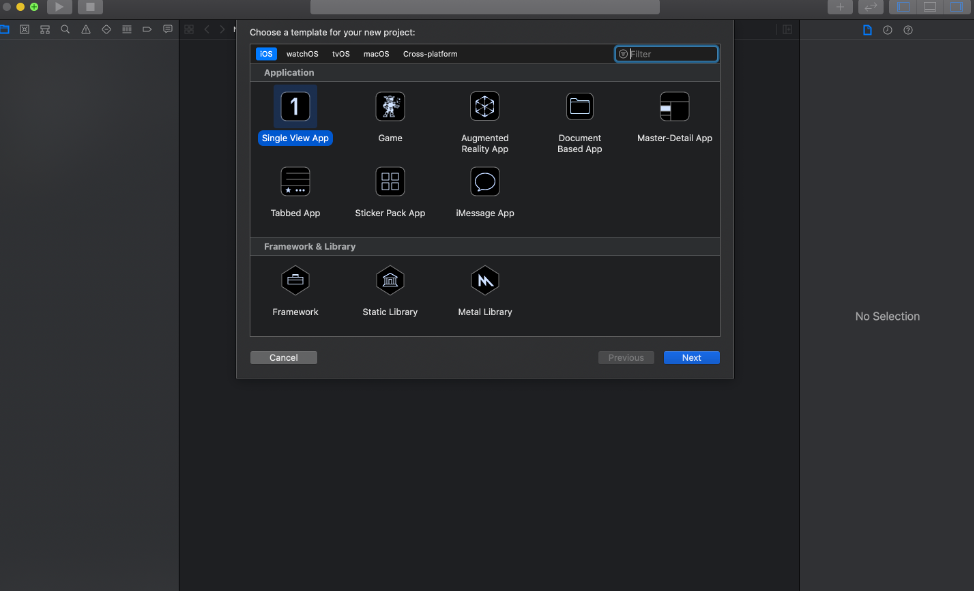
To begin this tutorial, make sure you create a new single application view project in Xcode.
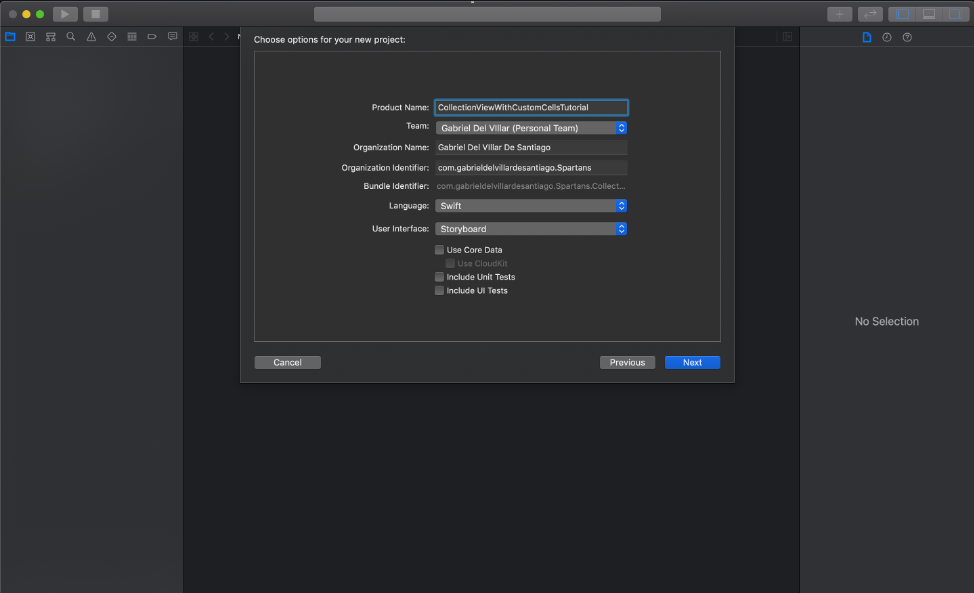
Give your project an appropriate name and save it.
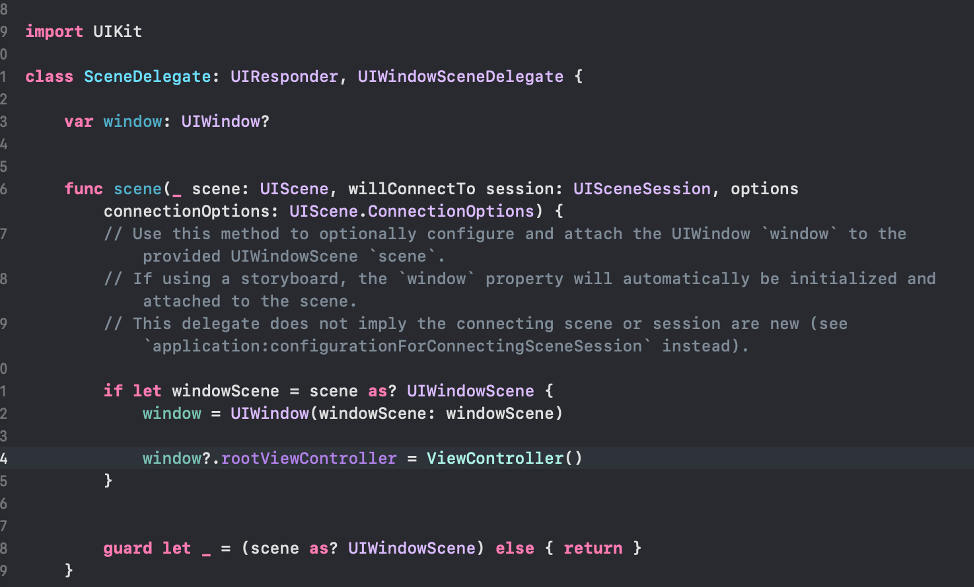
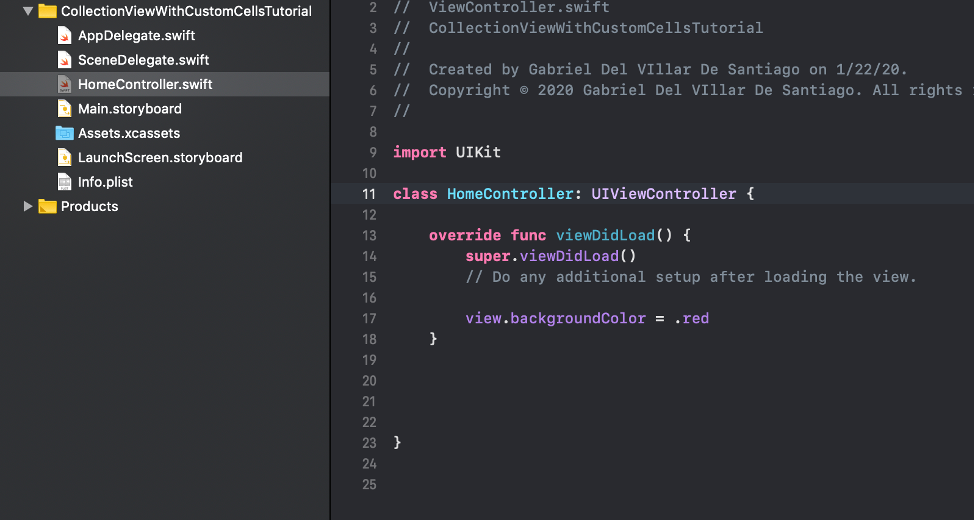
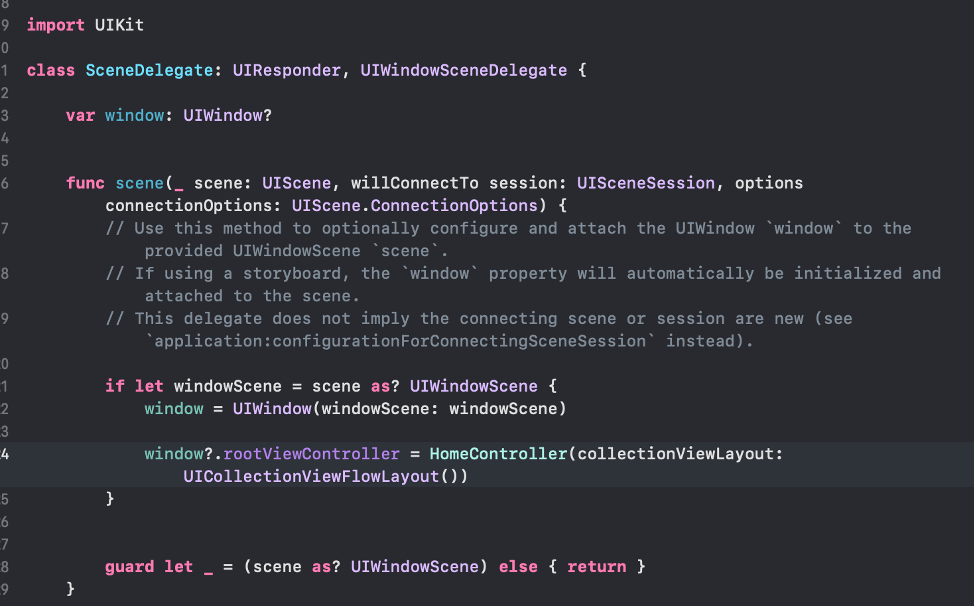
Since in this tutorial we are going to focus on implementing our UI programmatically, apply the following code in your SceneDelegate.swift file.
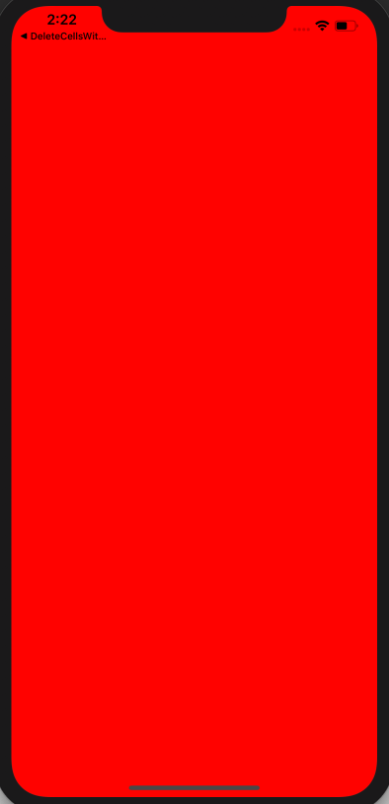
To verify that we can indeed modify our UI programatically lets give our ViewController class in our ViewController.swift file a red color and run the project:
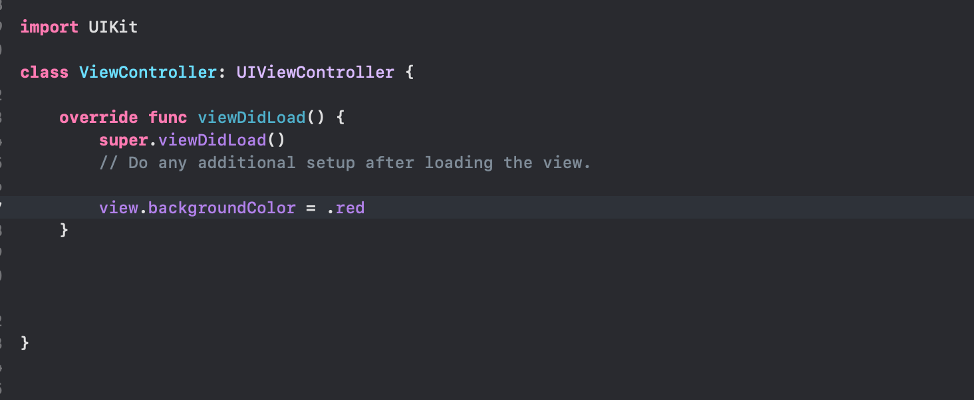
And indeed, we get a red view controller.
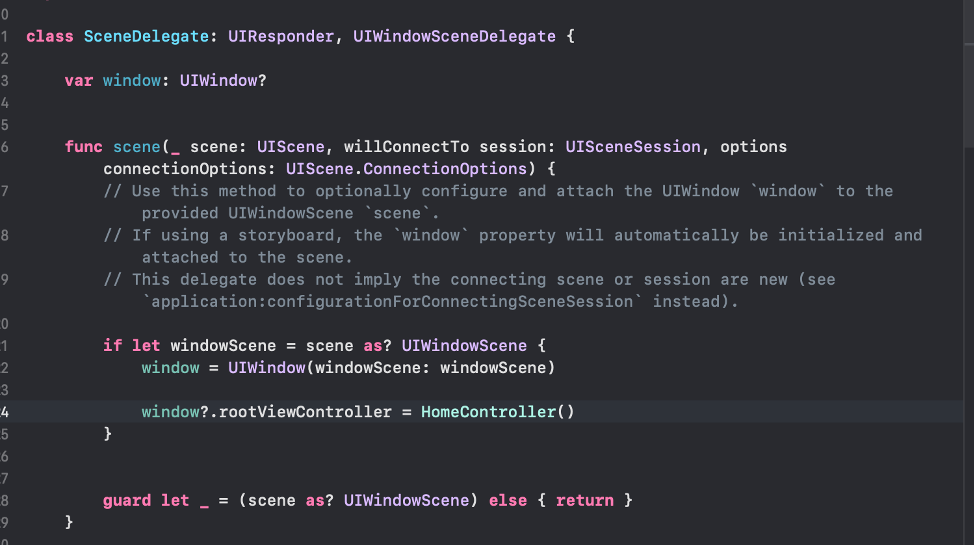
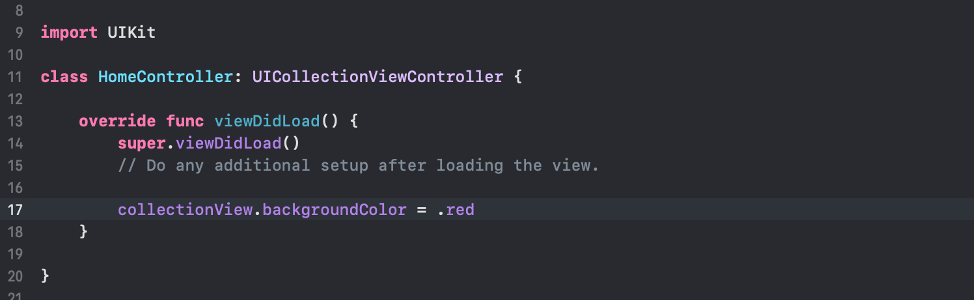
Now, let’s rename out ViewController.swift file and class ViewController: UIViewController{} to HomeController.swift and class HomeController: UIViewController{}. Also, make sure you make the appropriate modification to our window’s root view controller in SceneDelegate.swift
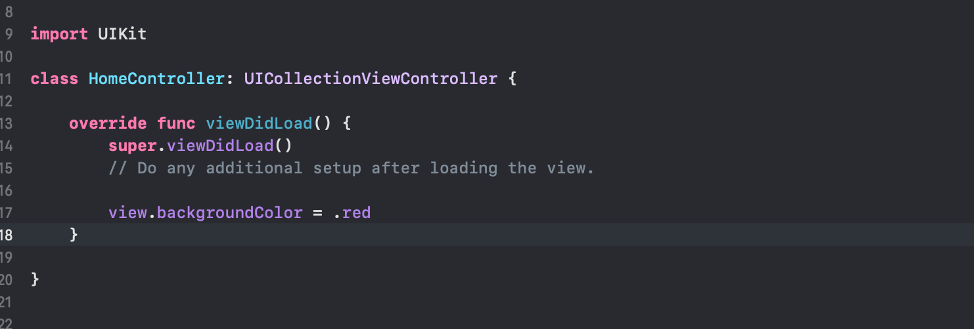
Now, since in this tutorial we are going to focus on the UICollectionViewController we want to make sure that our HomeController subclasses the UICollectionViewController instead of UIViewController
If you run your app after this modification, your app will crash and that is because we need to provide our HomeController instance with the required property of UICollectionViewFLowLayout ():
Now if you run your app, your app will not crash, but you will notice something else; your application displays a black view. Since we are now working with a UICollectionViewController, we inherently have to work with its collectionView property to handle all our UI, so let’s make that slight modification, run your application, and you would see a red view again.
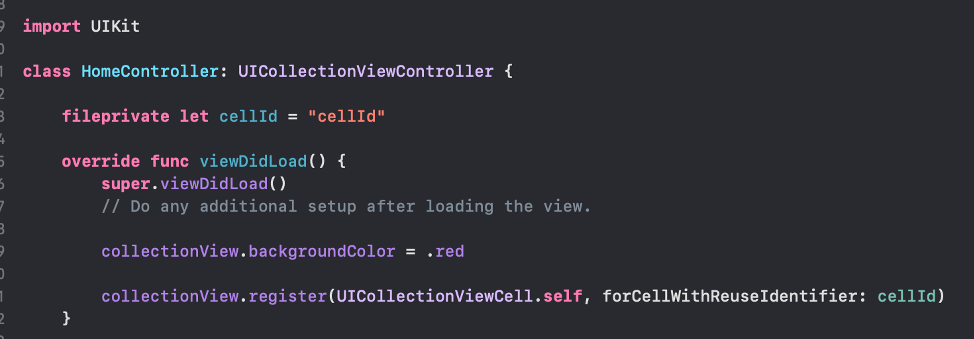
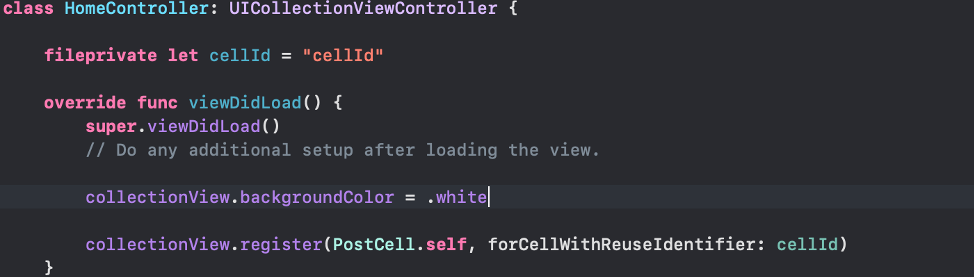
Now let’s begin layout out our cells by registering a UICollectionViewCell in out viewDidLoad function:
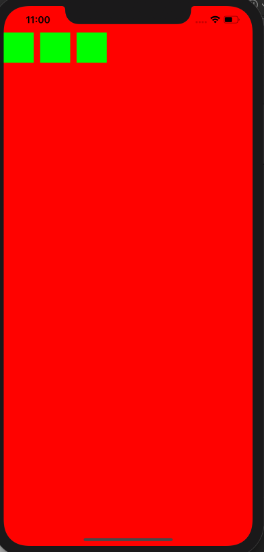
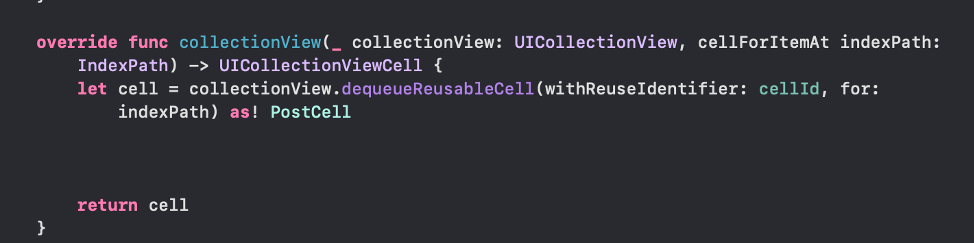
In order to see our cells, we have to implement the following two functions, which are part of our UICollectionViewController.
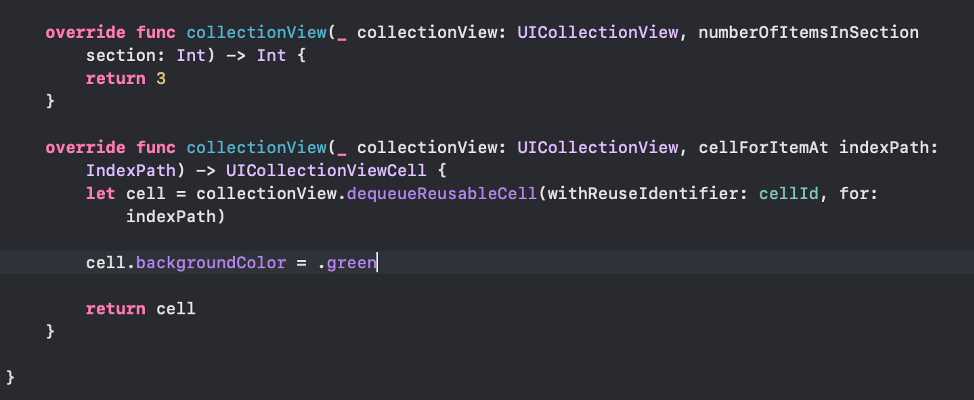
Run your application and you will get the following:
In order to resize our cells, our HomeController class would have to subclass the UICollectionViewDelegateFlowLayout class and override the sizeforitem function. We will do this using an extension to make our code cleaner:
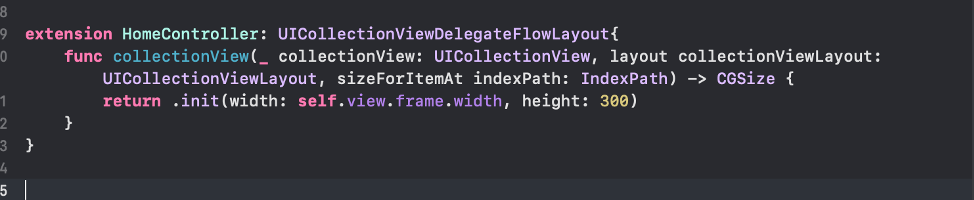
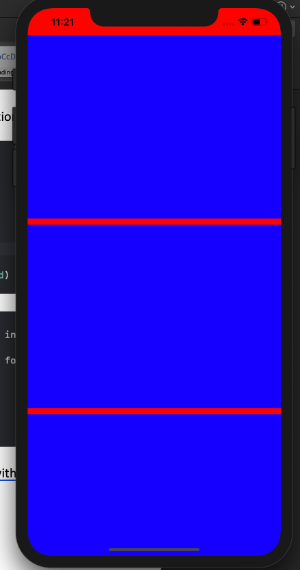
Now run you application, and you will get something like the following:
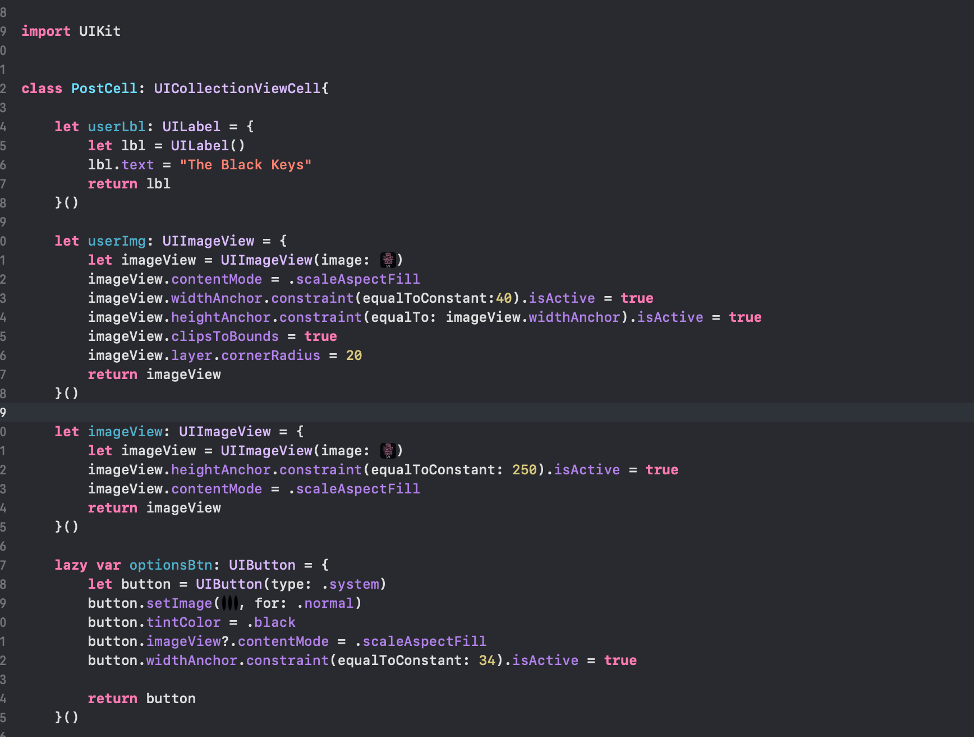
Now, we will implement our own UICollectionViewCell to fully customize our cells. We will implement our PostCell Class within the HomeController.swift file just to make things a little bit easier for now. Also, note that I applied a background color of blue to verify that we are indeed working with our custom cell.
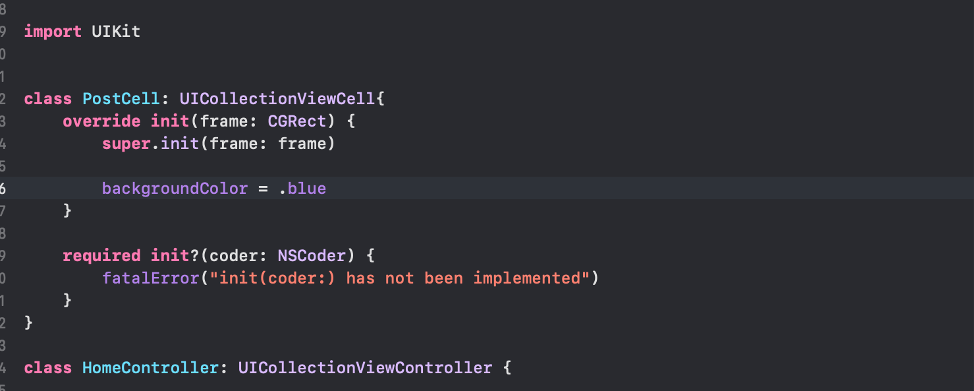
Above we also register our PostCell instead of the generic UICollcetionViewCell, and below we cast our cell into a PostCell.
Now run your application, and you will notice that we are now officially working with our custom cell.
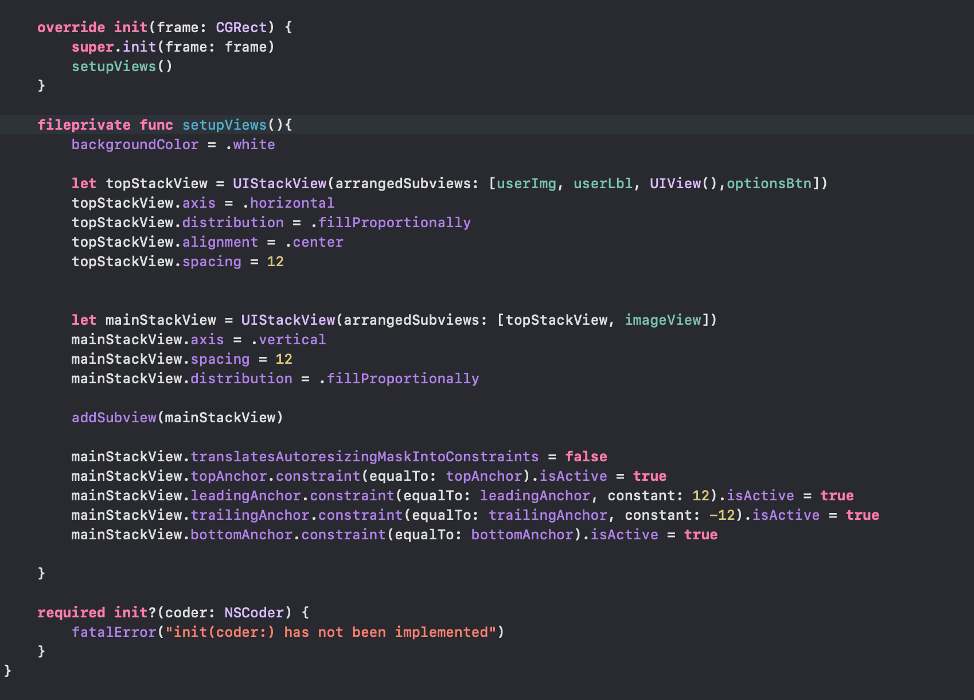
Now let’s add our UI elements to our PostCell class.
Awesome, now let’s layout out UI elements within our PostCell class.
Now, run your application and you will get the following. Feel free to use your own assets. Otherwise, check out the github to get the assets I used.
https://github.com/gabedelvillar/CollectionViewWithCustomCellsTutorial-iOS

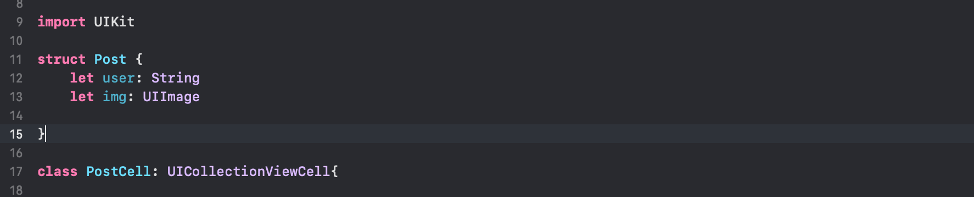
Now we are going to create a Post model to be able to populate our feed with custom model objects. I will place this Post model object in the HomeController.swift file for now to makes things a bit easier.
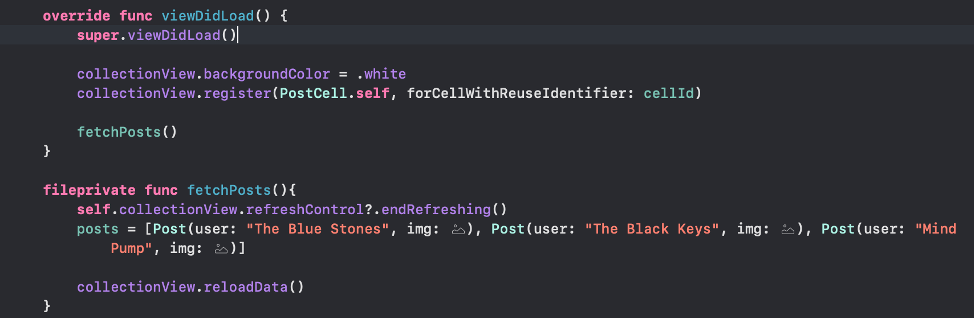
Now lets crate an empty array of Post objects that we will populate within a new function fetchPosts(), which we will call in out viewDidLoad() function.

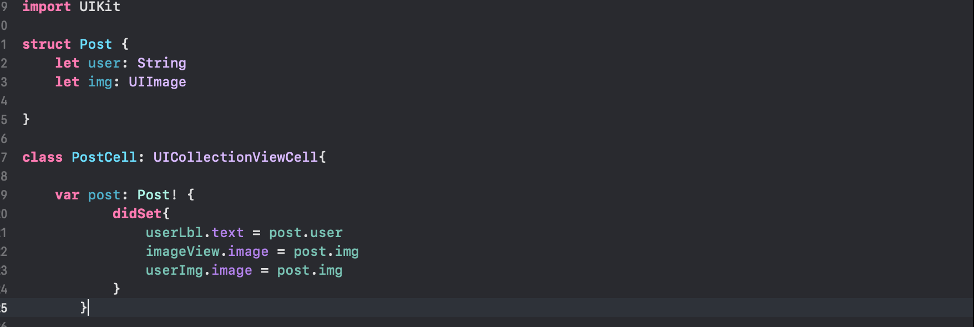
Great! Now let’s make sure that our cells get populated with the appropriate Post object by adding a setter in out PostCell class.
Now let’s feed the Post Models to our Post Cells in our HomeController class.


And you will get the following result.

This concludes part 1. In the next part, we will add the functionality of being able to delete cells as well as refresh our feed. Cheers! Thanks for reading. You can check out the complete project here:
https://github.com/gabedelvillar/CollectionViewWithCustomCellsTutorial-iOS
Leave a Reply